For the typical car owner, brake noises are one of the most freuent complaints—and one of the most annoying. That every time you step on the brakes, the high-pitch squeal, or grinding noise is not only aggravating but may indicate something else is going on. The good news is that they don’t always require a mechanic
In this guide, we’ll explore the most common sources of brake noise and how you may be able to address them on your own, safely and affordably.
What Causes Brake Noise?
Before jumping into the fixes, it’s important to understand why your brakes are making noise. There are several common reasons:
1. Worn-Out Brake Pads

Brake pads are made to have a limited lfe span, and when the pads wear down to a certain thickness, the wear indicator is metal, which makes contact with the rotor, causing a squeal when the brakes are applied. Ignoring this wear indicator can lead to further damage.
2. Dirt or Rust on Brake Components
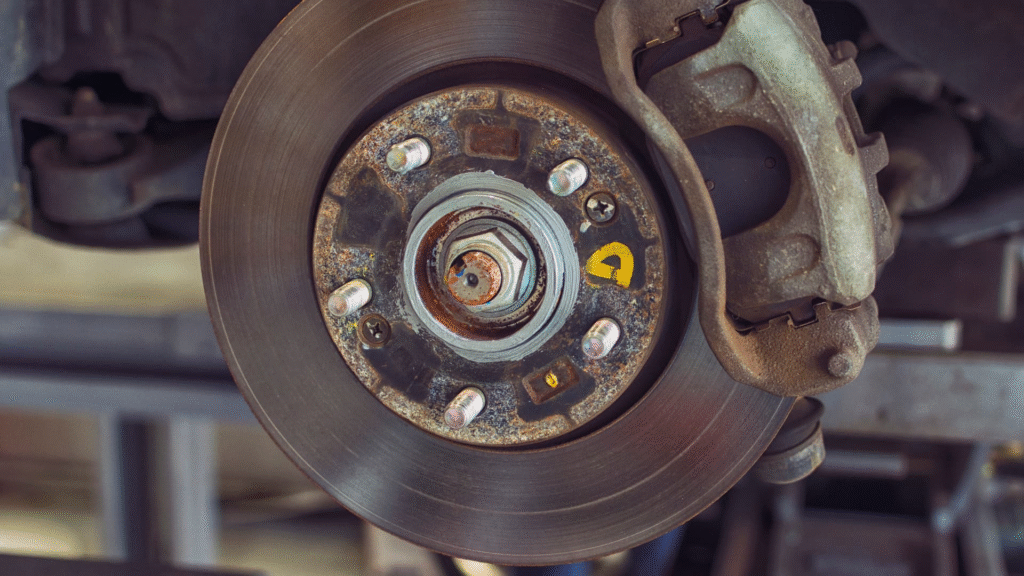
Dirt, rust, and debris can build up on the rotor or pad suface, causing squeaking or grinding noises.
3. Lack of Lubrication

Brake systems have moving parts that require lubrication. If caliper pins or backing plates are dry, they can create noise during braking.
4. Cheap or Low-Quality Brake Pads
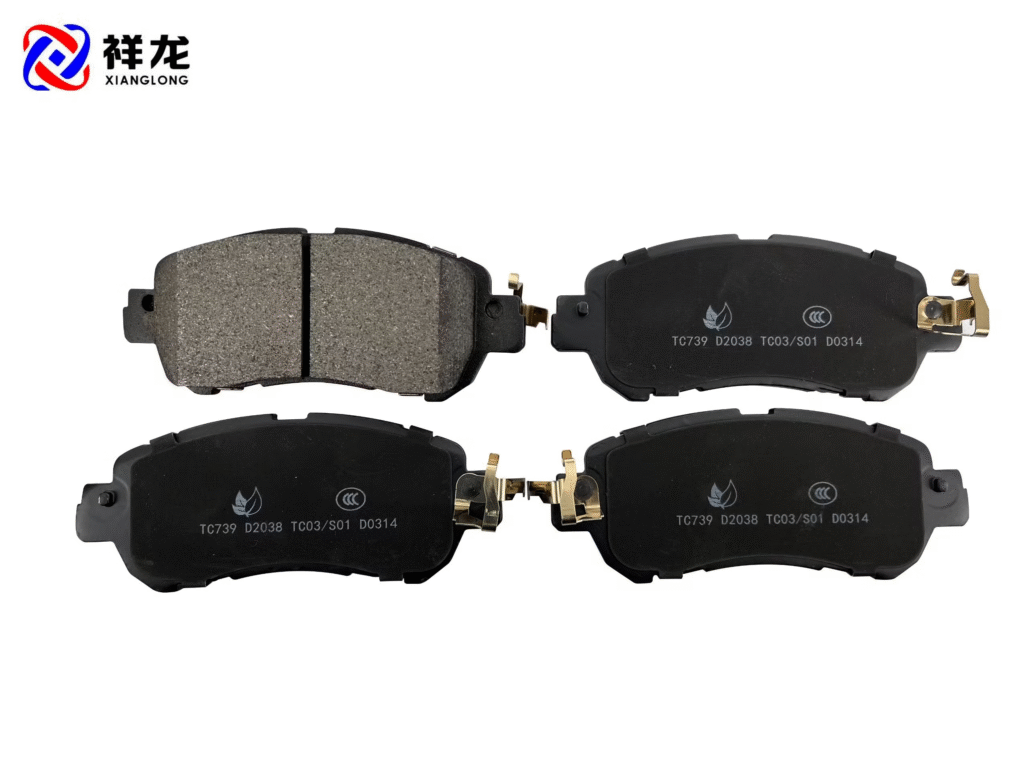
Low-quality pads often make more noise. Organic or mtallic pads are more prone to squealing than ceramic pads.
5. Misaligned Brake Parts
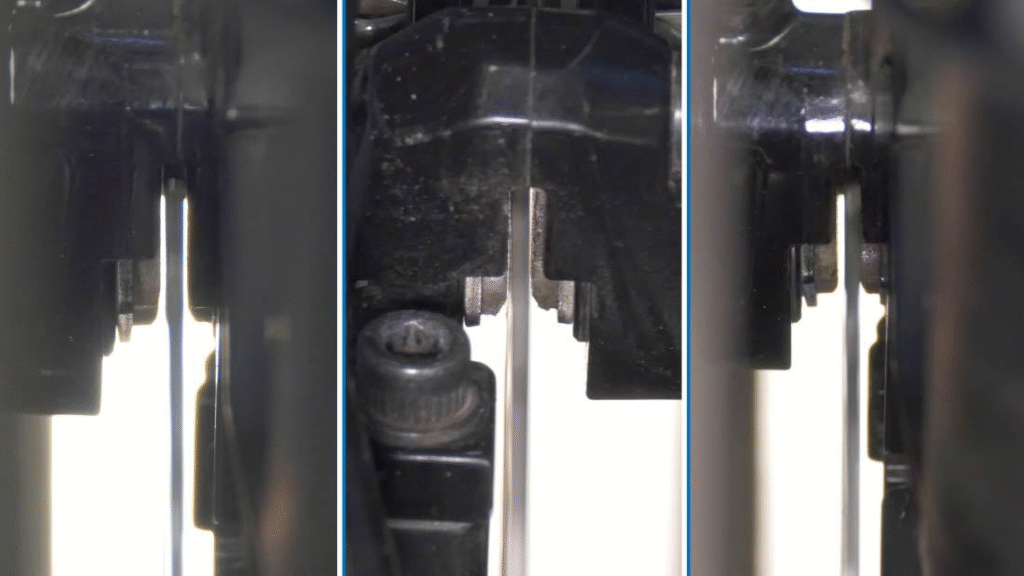
Improper installation or damaged clips, shims, or calipers can lead to vibration or rattling noises.
Now let’s explore how you can fix each of these issues at home.
Tools and Materials You’ll Need
Here’s a basic list of tools and products to prepare before you start:
- Jack and jack stands
- Lug wrench
- Socket set
- Brake cleaner spray
- Anti-squeal brake grease or anti-seize compound
- New brake pads (if replacement needed)
- Wire brush
- Torque wrench
- Safety gloves and glasses
Step-by-Step Fixes for Common Brake Noises
Step 1: Inspect Brake Pads
The first thing to check is the brake pads. You can usually see them through your wheels. If you notice they are less than 1/4 inch thick, it’s time to replace them.
DIY Brake Pad Replacement:
- Lift the car using a jack and secure it with jack stands.
- Remove the wheel to access the brake assembly.
- Unbolt the caliper and slide it off carefully.
- Remove the old brake pads and inspect them for wear.
- Install new pads, making sure to apply brake grease to the baPrivacy Policyck of the pads and caliper contact points.
- Reinstall the caliper and wheel, then lower the car.
- Pump the brakes before driving to reset the brake pressure.
Step 2: Clean Brake Components
Sometimes, noise is just a result of dirt, dust, or rust buildup.
Cleaning Steps:
- Remove the wheel and brake caliper if needed.
- Spray the rotors and calipers with a dedicated brake cleaner.
- Use a wire brush to scrub away rust or debris.
- Let everything dry completely before reassembling.
This alone can stop squeaking if contamination was the cause.
Step 3: Lubricate Moving Parts
Caliper guide pins and metal contact points need to be lubricated to prevent friction and noise.
How to Lubricate Properly:
- Remove the caliper bolts.
- Pull out the slide pins and wipe off old grease.
- Apply a small amount of high-temperature brake grease and reinsert them.
- Apply brake grease to the back of the pads and the edges where they touch the caliper bracket.
Note: Never put grease on the friction surface of the brake pad or rotor.
Step 4: Resurface or Replace Rotors (If Needed)
If your rotors are scored, warped, or rusted, they can cause grinding or vibration. If you have the tools and experience, you can replace or resurface them yourself.
- Rotors can be resurfaced using a lathe at home or by taking them to an auto parts shop.
- If they’re too thin or damaged, replacing them is the safest option.
Make sure to check the minimum rotor thickness marked on the rotor itself before resurfacing.
Step 5: Upgrade Your Brake Pads
If you’re using cheap or generic brake pads, consider upgrading to ceramic pads. These tend to:
- Produce less noise
- Generate less dust
- Last longer
- Offer better heat resistance
It may cost a bit more upfront, but it can prevent future brake noise issues.
When to Avoid DIY and See a Mechanic
While many brake noises are easy to fix at home, there are some situations where professional help is recommended:
- Grinding sounds that persist even after pad replacement
- Brake pedal feels soft or spongy
- Brake fluid leaks
- ABS warning light on the dashboard
- You’re unsure about disassembling brakes safely
If you’re ever in doubt, it’s better to get a professional inspection rather than risk your safety.
Safety Tips for DIY Brake Work
Working on your own brakes can save you hundreds of dollars, but safety should always be your top priority:
- Always use jack stands, never just a jack.
- Wear gloves and eye protection.
- Work on a level surface and block the wheels that remain on the ground.
- Keep brake fluid off paint, as it can strip paint instantly.
- Test drive slowly after any brake repairs.
Final Thoughts
Eliminating brake noise without the need for a mechanic is definitely possible as long as you’re able to follow some simple steps. Whether it’s changing some worn pads, cleaning dirt off the rotors, or simply lubricating the proper locations, you can easily fix some of the brake problems in your garage.
You will not only save money, but you’ll truly learn more about your car’s braking system. Also, don’t forget, if you’re ever in doubt, refer to your vehicle’s manual, or reach out to an expert.
Quiet brakes = safer driving + peace of mind. Happy wrenching!


