DIY Car Repair: How to Stop Dashboard from Rattling. A rattling dashboard is more than just an annoyance that can antagonize entire trips. It can also make almost any driving experience unnecessarily uncomfortable, and that is especially true when we just want to focus on the road, listen to the radio, or enjoy some peace on our commute. The good news is that a rattling dashboard is fairly common, and they can usually be fixed quite easily with minimal skills, with this post being written with the assumption that you are at least a little handy around the house. You will also learn how to find the source of the noise, the role of tools in the solution, and how to fix it step-by-step without the aid of a qualified professional.
Understanding Why Your Dashboard Rattles

Before jumping into fixes, it’s useful to know a little about what can cause dashboard rattles in the first place. Over time, your vehicle is exposed to vibrations from uneven roads, temperature changes, and regular wear. All of these factors can loosen screws, clips, dashboard panels, or even other internal components. Simply put, the longer parts are loose, the more likely they are to start vibrating or tapping against one another, especially on bumpy roads or when idling.
The more common causes of dashboard rattling include:
- Loose screws or bolts behind the dashboard panels
- Broken or missing plastic clips
- Loose or unsupported wires or harnesses behind the dashboard
- Loose air vents, glove boxes, or speaker grills
- Aftermarket accessories not properly attached
- Old or brittle plastic trims that no longer fit tightly
By understanding the potential issues you may pinpoint the source of the dashboard rattle, ultimately making the repair process more efficient.
Tools and Materials You May Need
Before starting, gather a few basic tools and materials. These may vary depending on your car model and where the rattle is coming from.
- Screwdrivers (Phillips and flathead)
- Trim removal tools (plastic recommended to avoid damage)
- Foam tape or felt tape
- Zip ties
- Replacement clips (if needed)
- Small flashlight
- Torx drivers (for certain dashboards)
Most of these items are affordable and available at auto parts stores or online.
Step 1: Locate the Source of the Rattle
Start up your engine and let the engine idle. Listen closely to determine where the rattle is occurring. If the rattle is only happening while driving, take a drive down a bumpy or uneven road and listen for where the rattling part of the dashboard is. Have a friend with you on the drive to help locate the direction of the rattle.
At times, you may be able to press down or tap on a few parts of the dashboard, which will help you identify the loose piece. Write down the areas where you are getting rattles, and when you take your dashboard apart, focus on that area.
Step 2: Remove Problematic Panels
Once you have determined where the noise is coming from, the next thing to do is remove the panel or component that is located above the area where the rattling is heard. Remember to disconnect the battery to avoid the airbag going off accidentally or causing some unintended electrical short.
You can then carefully pry off the dashboard panels with a set of plastic trim removal tools. Like other plastic pieces, there might be screws hidden inside and you will have to find them, which will more than likely be located around the air vents or you may have to pull a rubber mat or piece to find them. An auxiliary light source like a flashlight can come in handy for locating screws too, so keep one nearby while you’re working.
Also, make sure you keep all of your screws and clips in a readily available, remembered place for when you get to the point of reassembly.
Step 3: Check Screws and Clips
Now that the panel has been taken off, take a look for any loose screws or missing clips. Tighten any screws you find that are loose with a screwdriver. If a screw does not go tight because the hole is stripped out, you can go with a little larger screw or fill the hole with a small piece of toothpick and a little glue before you put the screw in.
If you find clips that are broken or plastic fasteners, replace with new ones. These clips are cheap and available for most car models.
Step 4: Secure Loose Wiring
Loose wiring can be a frequent culprit of dashboard rattles. Look for any wires that appear to be tied up loose. Use zip ties or foam tape to secure them. Be sure that cables are not slapping against hard plastic or metal components.
Check wire harnesses. If they are vibrating against the underneath of the dashboard, apply padding or use some felt tape to minimize rattling as they move.
Step 5: Add Cushioning Between Panels
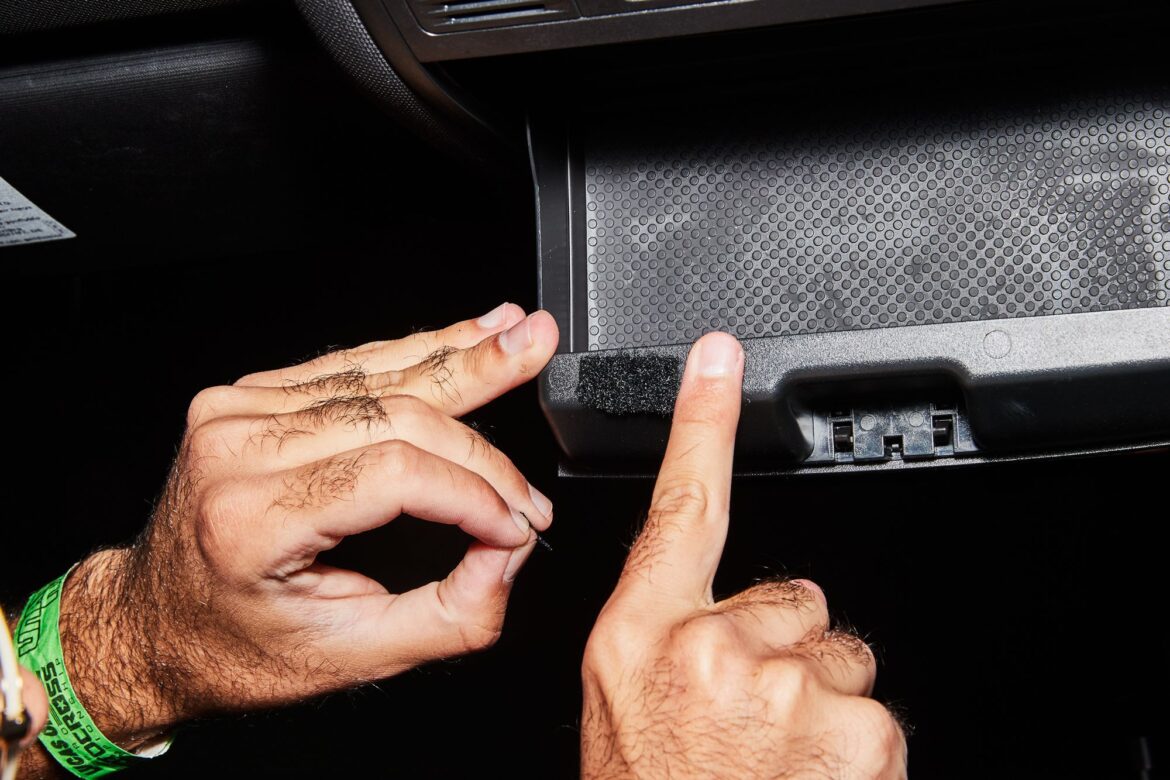
If the rattles seem to be coming from panels or trim rubbing against each other the solution is simple – cushion the contact areas. Use felt tape or foam padding to pad the edges of plastic panels, vents, or trim pieces. Dampening the plastic-on-plastic vibration is a huge source of noise made within the dashboard.
Cut small pieces of foam or felt and put them wherever there are seams, under edges, or anywhere two pieces touch. Don’t go crazy – just a bit of cushion to prevent movement is best.
Step 6: Inspect Dashboard Attachments
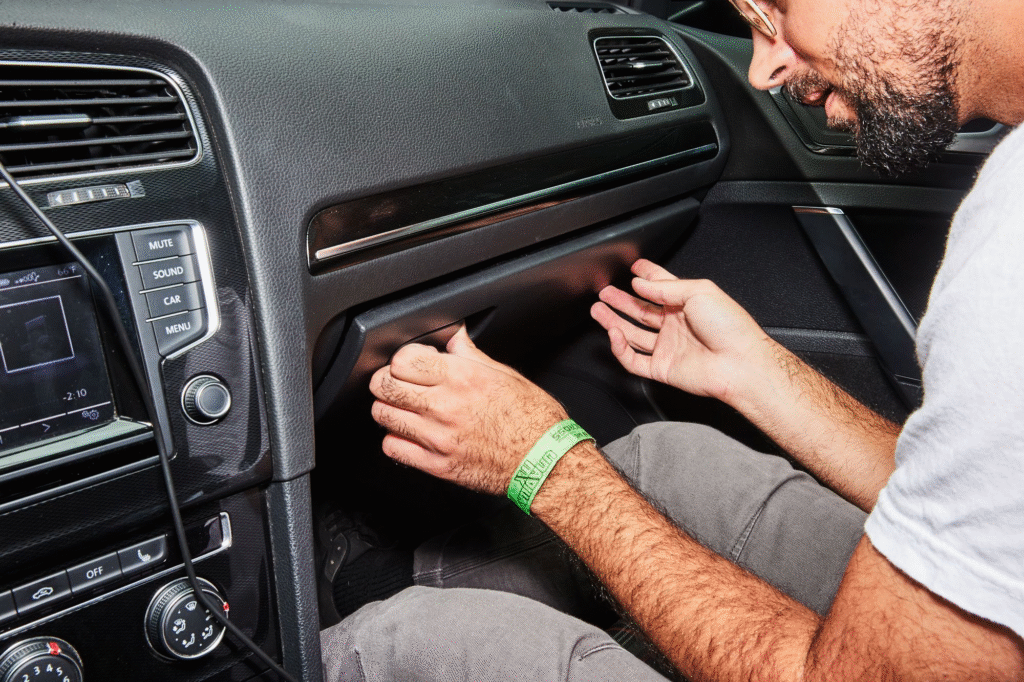
Check all the other ancillary dashboard components (glove boxes, cup holders, speaker covers, etc.). These can all be overlooked but loosen over time and create rattling.
If you determined it’s the glove box, inspect the glove box latch mechanism closely along with the hinge/attach points. Tighten any screws and feel pads down on the frame where the glove box contacts. The same thing goes with any of the removable covers and or control panels that could vibrate.
Step 7: Reinstall Panels and Test
After everything has been tightened and padded, reattach the panels that you took off, making sure all the clips snap back into place and that all the screws are tight. Reconnect the battery and start the engine. Go for one more test drive, over the same bumpy road, and listen closely.
If the rattle is gone, congratulations, you have solved your problem! If the rattle is still there, then back to these parts and areas that you may have missed.
Preventing Future Dashboard Rattles
Dashboard rattles tend to return if the root causes are not fixed. To help ensure issues do not develop, consider some of the following tips:
- Do not slam the glove box, center console, or dashboard panels
- Use sunshades during hot weather to avoid warping of dashboards
- Properly secure any added accessories with mounts or brackets
- Check screws and clips when changing oil or doing inspections
- Do not stick heavy or hard objects in storage compartments
Common sense and occasional maintenance go a long way to help keep the rattle out of your dashboard.
When to Seek Professional Help
A lot of dashboard rattles can be fixed easily at home, but there are some rattles that might be more difficult. If the rattle is coming from deep inside the dashboard, or it seems to be related to an electronic component (which can include any of the following; airbag module, HVAC motors, or stereo) it may be best to leave it to a mechanic or dealership technician for diagnosis.
Furthermore, depending on the vehicle, you do run the risk of voiding some warranties if you remove the panels yourself. So if you are still under warranty, you will definitely want to check the terms of your vehicle’s warranty before doing any major DIY repairs.
Final Thoughts
DIY Car Repair: How to Stop Dashboard from Rattling. Although reparing a rattling dashboard seems trivial, you may want to ask yourself if you want to tolerate the costs and discomfort of a noisy dashboard before you dismiss the task as unnecessary. The best part is that most dashboard rattles can be fixed in an afternoon, with a little patience, vigilance, a few simple tools, and determination. The steps are to analyze what is rattling, tighten any loose items, cushion touching items, and reassemble everything carefully.
The next time your dashboard rattles don’t ignore it and don’t run to your mechanic either – follow the steps above and enjoy a pleasant ride without spending a nickel on labour.


