Bumper scratches can hurt your pride as you dive around town. Whether the scratches were caused by minor accidents, backing into things, careless parking, or debris on and along the road, you don’t always want to spend hundreds of dollars at a body shop, and you may not need to if you have the right tools to repair it yourself.
With these simple methods, you will learn and undersand diffrent ways to fix/repair your scratched bumper yourself, allowing you to spend your money elsewhere. We’ll examine many affordable ways to repair a scratched car bumper, step by step. From basic quick DIY fixes to accessible and slightly more advanced methods, you will find a method for your budget and skill level.
Understanding the Types of Bumper Scratches
Before jumping into the repairs, it’s important to understand the severity of the scratch. This will help you choose the best method to fix it.
- Surface Scratches (Clear Coat Only):
These are the lightest scratches that don’t penetrate the paint. They affect only the clear protective coating. - Paint Scratches (Color Layer):
These go beyond the clear coat and damage the actual paint layer underneath. They are more noticeable and require more work. - Deep Scratches (Primer or Plastic Exposed):
These are the most serious types of scratches. The damage reaches the primer layer or exposes the plastic underneath the paint. These need filling, sanding, and repainting.
Now let’s go over different affordable methods to repair these scratches.
Method 1: Toothpaste or Scratch Removal Polish (For Surface Scratches)
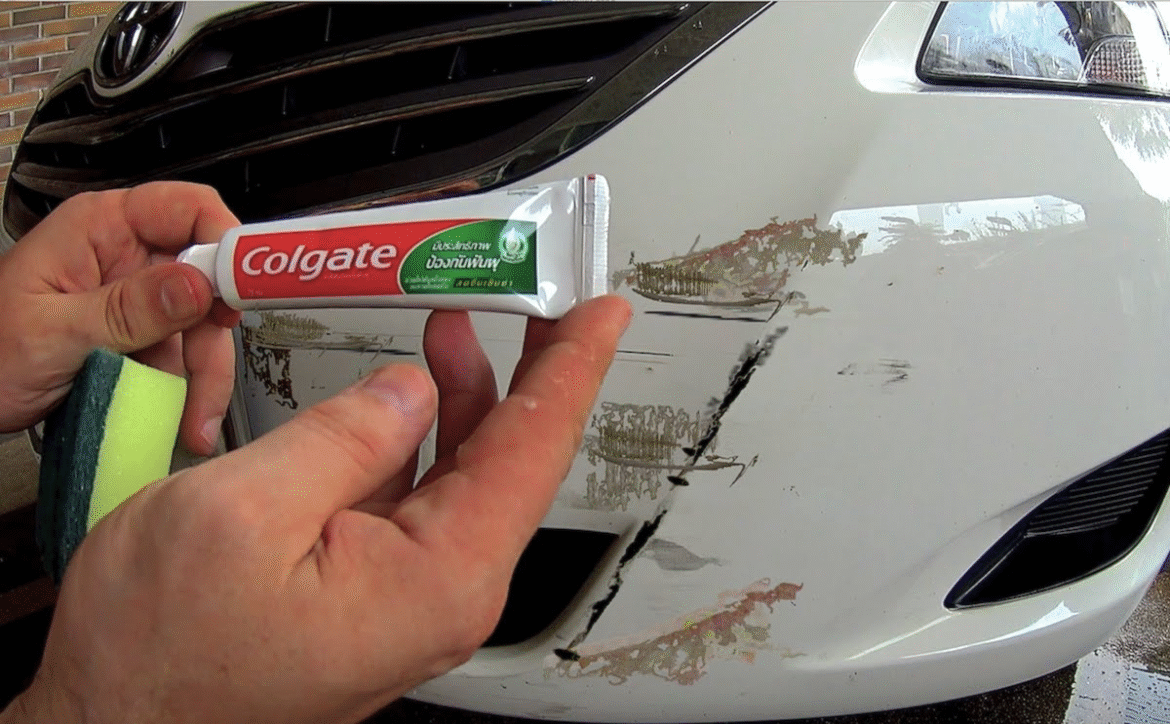
For very light surface scratches, a basic household prduct like white toothpaste (not gel) can work surprisingly well.
Steps:
- Clean the scratched area with water and car soap.
- Dry it completely.
- Apply a small amount of white toothpaste or scratch removal polish to a microfiber cloth.
- Rub it into the scratch in small circular motions for 30–60 seconds.
- Wipe off the residue with a clean cloth.
- Repeat the process a couple of times if needed.
This method is ideal for very light scratches and can significantly improve the appearance without any tools or paint.
Estimated Cost: $0–$10
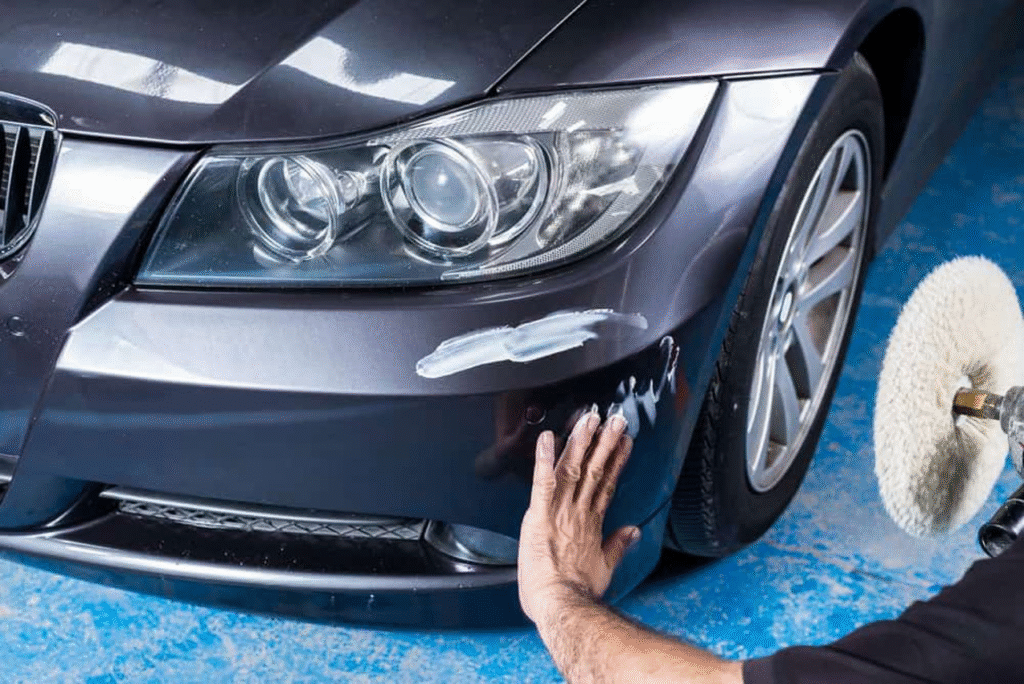
Method 2: Scratch Repair Kits (For Clear Coat and Light Paint Scratches)

Scratch repair kits are widely available at auto parts stores and online. These kits usually include a buffing pad, scratch remover compound, and sometimes a touch-up pen.
Steps:
- Wash and dry the area.
- Apply the compound using the provided applicator or a clean cloth.
- Rub in small circular motions for a minute or two.
- Wipe clean and check the result.
- Use the touch-up paint pen (if provided) for deeper color-level scratches.
These kits are more effective than toothpaste and still very affordable for minor to moderate scratches.
Estimated Cost: $10–$25
Method 3: Touch-Up Paint Pen or Bottle (For Paint Scratches)
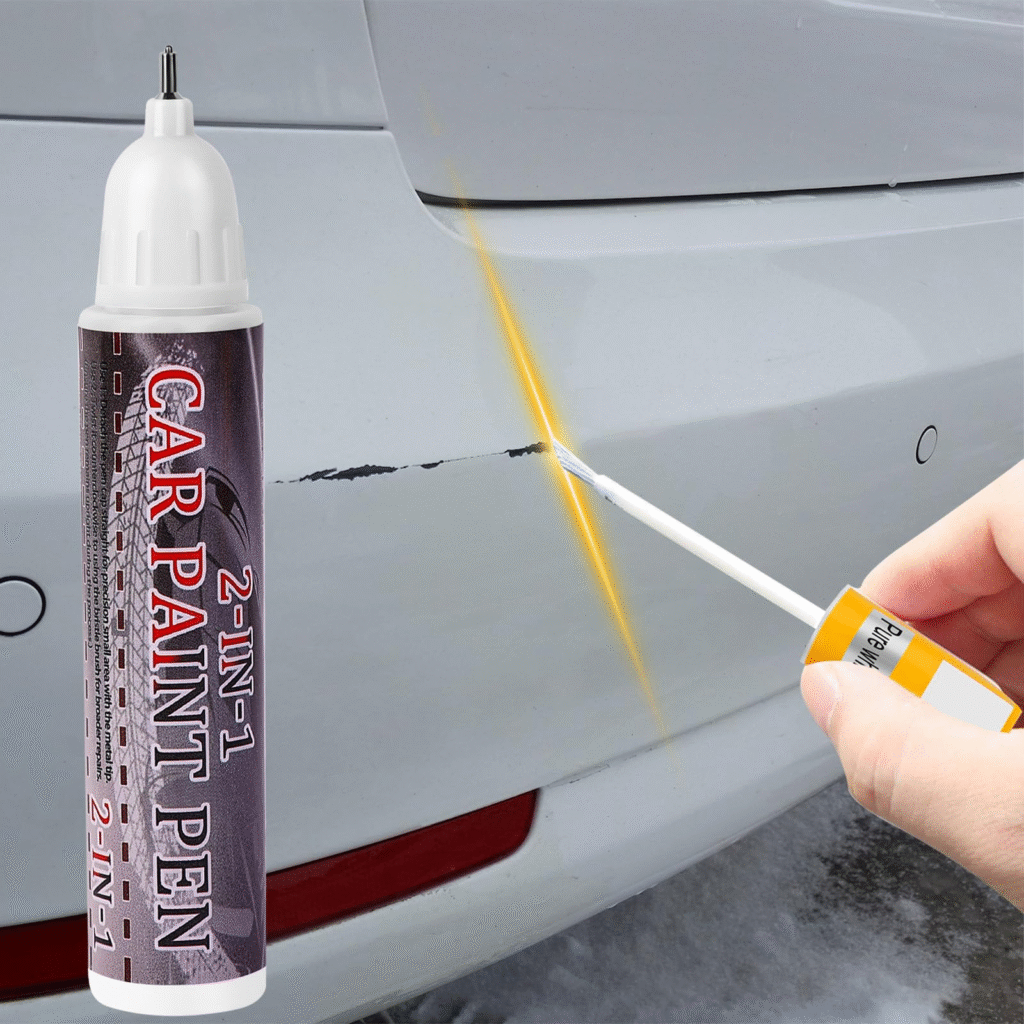
If the scratch has gone through the color layer but hasn’t exposed the plastic, touch-up paint is a great solution.
Steps:
- Identify your car’s paint code (usually found on the inside of the driver’s door).
- Buy the matching touch-up paint from your dealer or online.
- Clean and dry the scratch thoroughly.
- Shake the paint pen or bottle well before use.
- Apply a thin layer of paint using a fine brush or pen tip.
- Let it dry for 30–60 minutes, then apply a second coat if needed.
- Once dry, gently buff the area with polishing compound for a smoother finish.
Be careful not to over-apply paint, as it can leave blobs or streaks.
Estimated Cost: $15–$30
Method 4: Sanding and Spray Painting (For Deep Scratches)

For scratches that expose the primer or plastic, you’ll need to fill, sand, and repaint the area.
What You Need:
- Automotive sandpaper (400, 800, and 2000 grit)
- Plastic filler or glazing putty
- Primer
- Matching spray paint
- Clear coat spray
- Masking tape and paper
- Rubbing compound and polish
Steps:
- Clean and Dry the Area: Remove dirt and grease using soap and water.
- Sand the Scratch: Use 400-grit sandpaper to smooth the damaged area. Feather the edges.
- Apply Filler or Putty: Fill any deep grooves and let it dry completely.
- Sand Again: Smooth the filler with 800-grit, then 2000-grit sandpaper.
- Mask the Surrounding Area: Use tape and paper to avoid overspray.
- Spray Primer: Apply 2–3 light coats, letting each dry for 10–15 minutes.
- Spray Paint: Apply 2–3 coats of matching paint, drying in between.
- Apply Clear Coat: Finish with 2 coats of clear spray to protect the paint.
- Polish: After the clear coat dries completely (usually 24 hours), polish the area for a glossy finish.
This method takes more time but gives a near-professional result at home.
Estimated Cost: $25–$50
Method 5: Vinyl Wrap or Bumper Sticker (For Cosmetic Coverage)
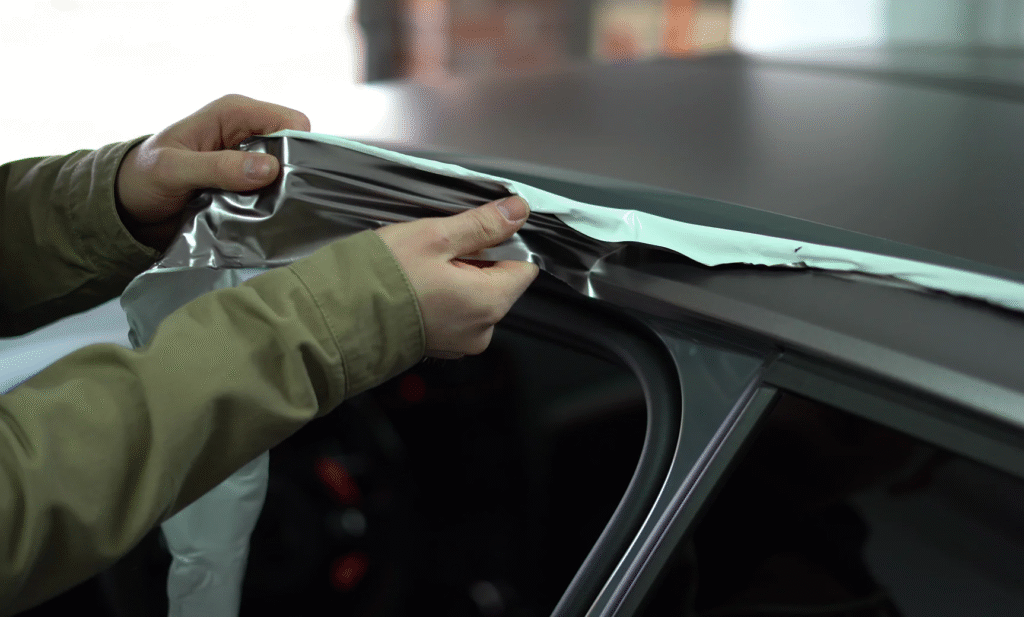
If you’re short on time or budget, covering the scratch with a vinyl decal or bumper sticker is a temporary but creative solution.
- Clean and dry the area.
- Choose a decal or vinyl wrap that suits your car’s style.
- Apply carefully, avoiding air bubbles.
This doesn’t fix the scratch, but it hides it and prevents further damage.
Estimated Cost: $5–$15
Extra Tips to Keep in Mind
- Always work in a shaded, well-ventilated area to avoid paint drying too fast.
- Use gloves when handling chemicals or paint.
- Let paint and clear coat cure fully before washing the car.
- If you’re unsure about your paint code, ask your dealership for assistance.
- Avoid using abrasive materials like steel wool—it can worsen the damage.
When to Visit a Professional
DIY repair works well for small to medium scratches. But if the damage includes:
- Deep gouges
- Cracks in the bumper
- Paint peeling or large areas of exposed plastic
- Paint mismatch after touch-up
It’s best to consult a professional. While it may cost more, you’ll ensure a flawless result and avoid long-term issues like rust or paint flaking.
Preventing Future Scratches
Once you’ve repaired your bumper, protect it with these simple habits:
- Park away from high-traffic areas or close parking spots.
- Install parking sensors or a rear-view camera if you often bump into objects.
- Apply a clear protective film to the bumper.
- Regularly wax your car to add a layer of protection.
- Avoid driving too close to bushes, curbs, or construction zones.
By staying proactive, you can reduce the chances of new scratches and keep your bumper looking great.
Conclusion
Car bumper scratches don’t have to be costly or complicated to fix. With a little time, a few inexpensive tools, and a small amount of knowledge, you can restore your bumper’s appearance and save a lot of money for the next scratch and dent.
You have various options for how to fix it, whether you choose to polish it quickly, do some touch-up paint, or a more involved sanding and repainting process. These cost-effective options give you total custody of your car’s appearance. So when your bumper gets scratched again, don’t fret, just get your tools, and fix it yourself.
If you would like a version customized for your website, I can optimize it with meta tags, SEO keywords, or internal linking.

